How to send email the fast way in FZM using email templates.
(5 mins)
Send Emails Using Templates in franchizemanager
The FZM system allows users to send templated emails across various modules in a consistent and time-saving manner. The same process can be applied wherever you see the “Send” button within FZM, enabling broad utility across different modules of the platform. By following these steps, you can ensure your communication process is efficient, consistent, and always professional.
Before You Start:
You must have email templates already set up. This is based on a “write once, use many times” principle that allows you to create templates that can be repeatedly used for different contacts. Important: If your email templates aren’t configured yet, you can refer to Email Templates – Creating & Managing
How to Send an Email Using Templates
Step 1: Select an Email Template

- Go to the candidate record page.
- At the top of the candidate record page, click Send Email.

- A pop up with a list of available email templates will appear. If this list appears blank, you likely need to set up email templates.
- Click the email template that you want to use.
- Click Continue.
Step 2: Edit and Construct the Email
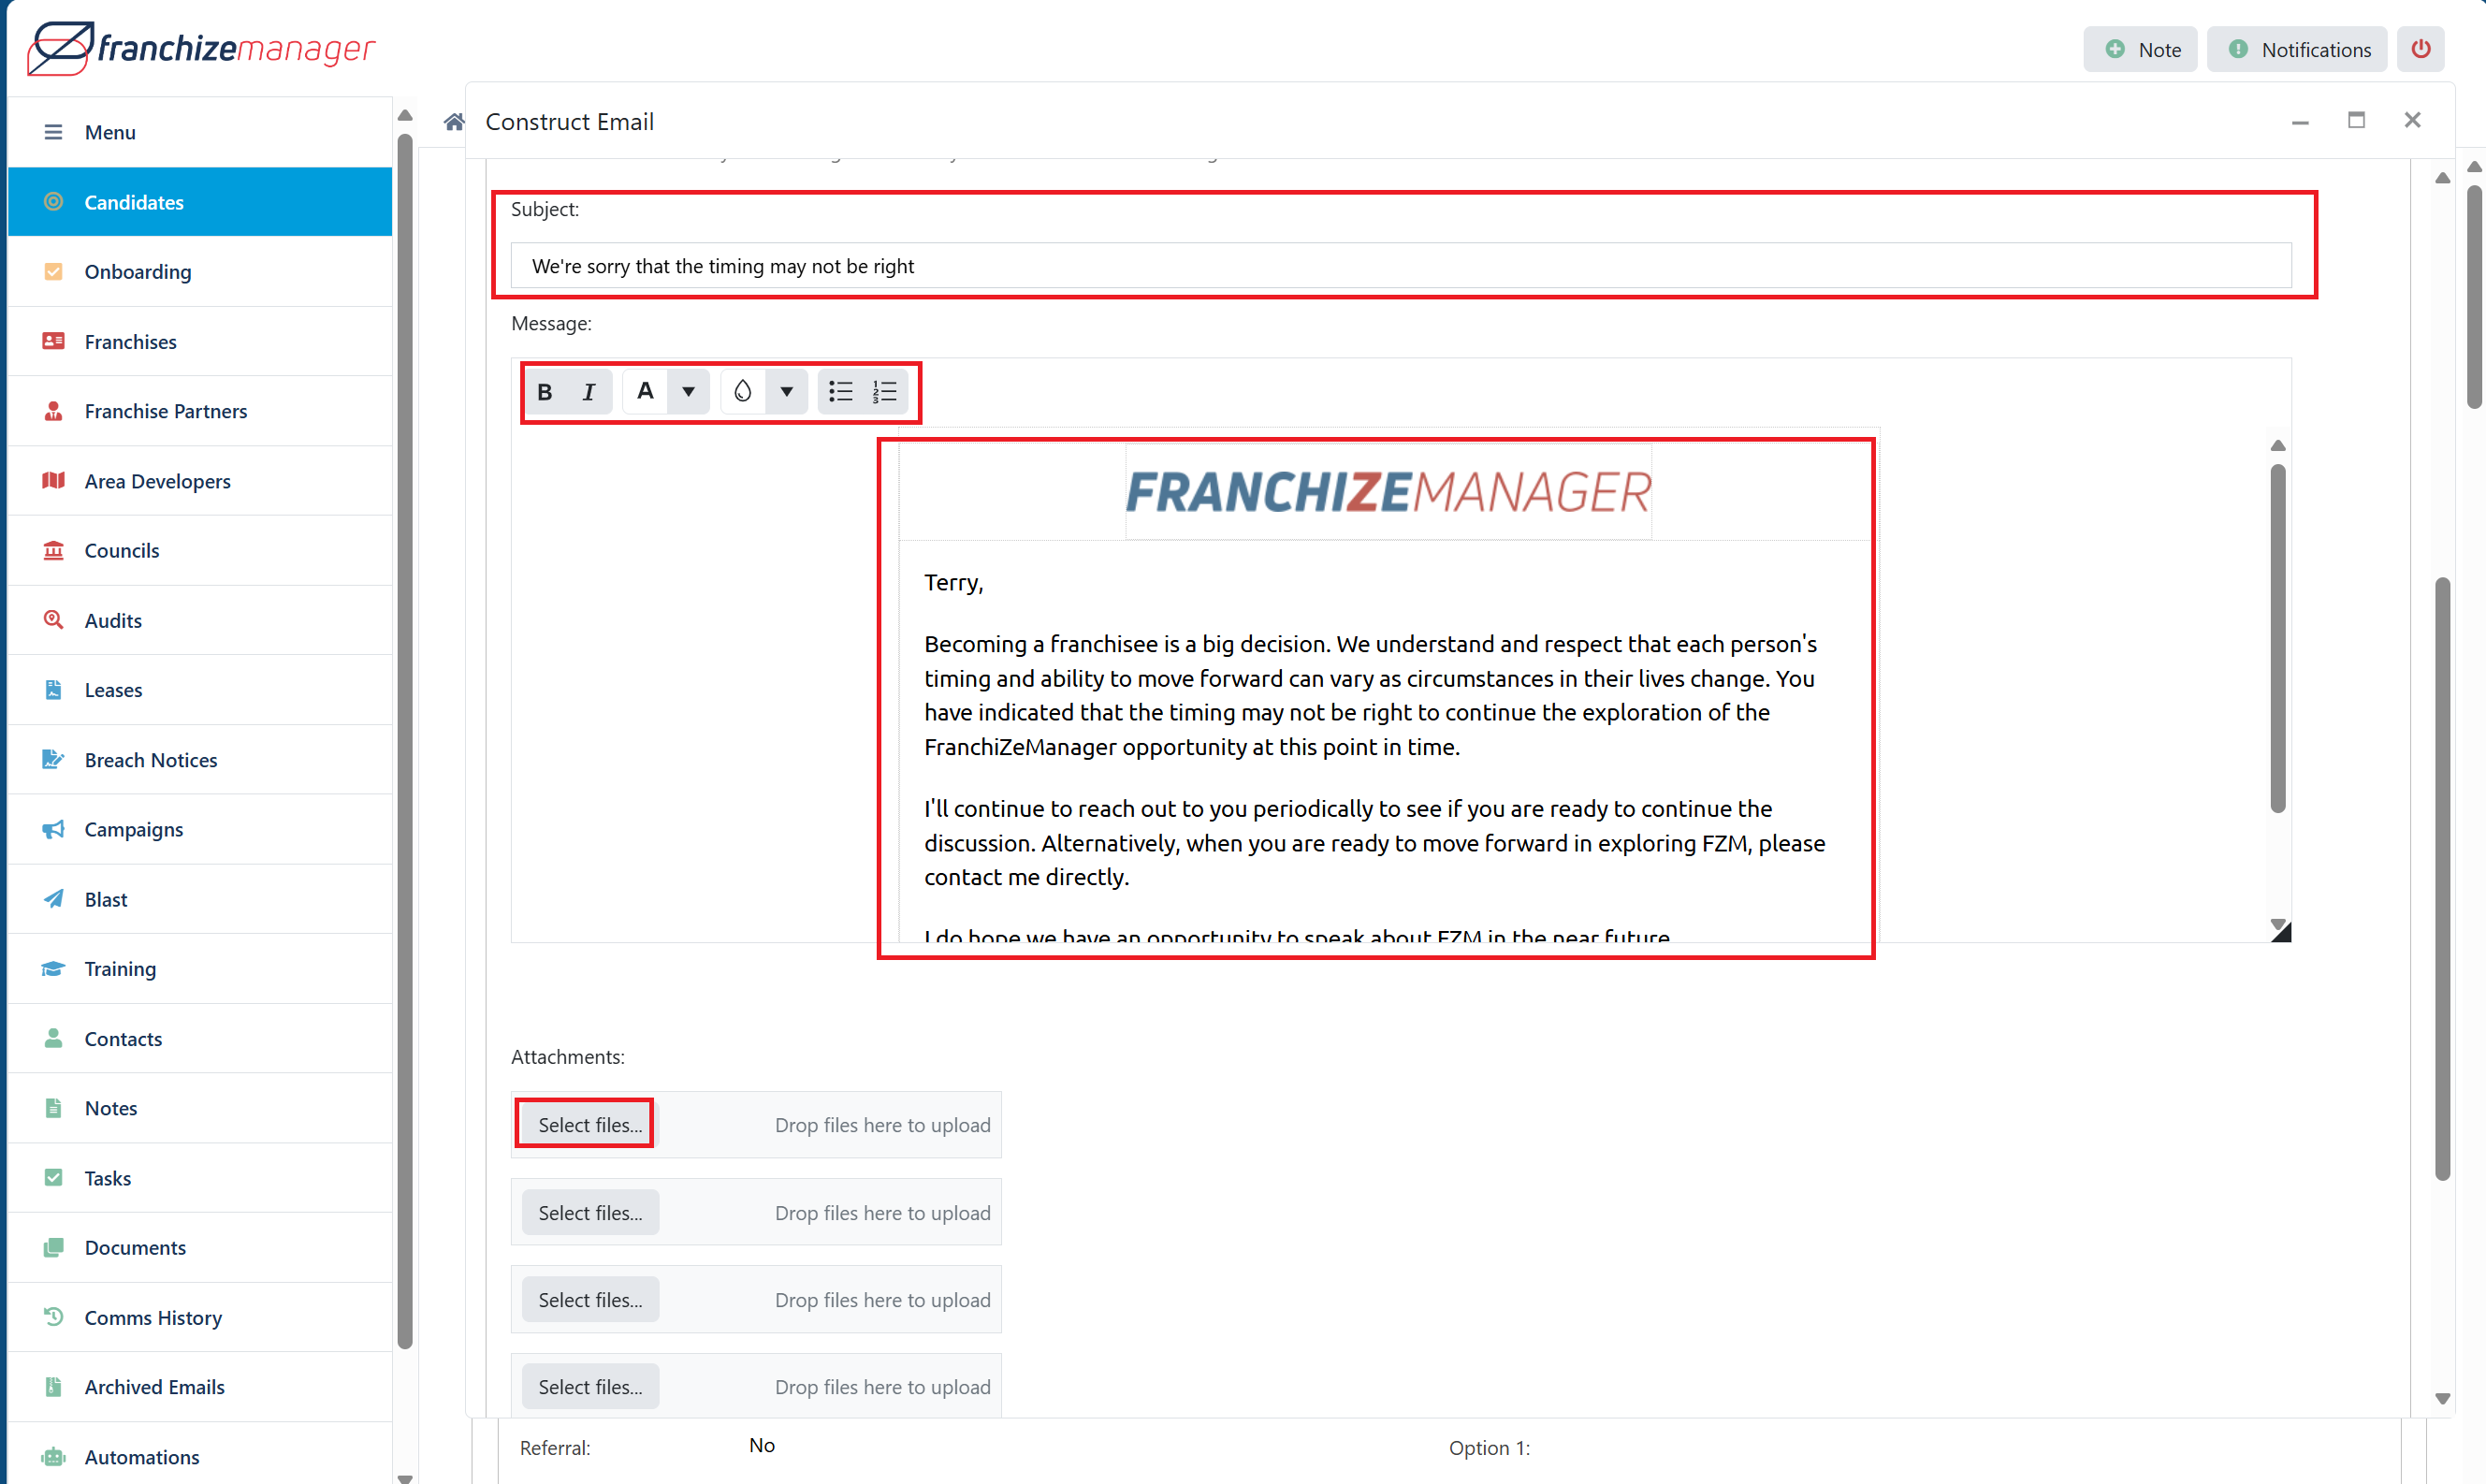
A window will open with the email editor where you can edit the email before sending it. 
- If you want to receive a copy of the sent email, turn BCC me on.
- This ensures that a blind copy is sent to your email (the one on your user record), which is useful if you need to maintain a record in your personal email client (e.g., Gmail or Outlook).
- Tip: For efficiency and organization, you can set up an automatic rule in your email client to move these copies to your sent folder.
- If you want to CC a contact, under the “CC” section, click the dropdown or directly enter their email addresses.
- By default, the email will appear to be sent from the address on your user record. If someone else is working on your behalf, they can change the “From” field to your email address.
- To add your email signature, turn Inc Signatureon. This signature is pulled from your user record in FZM and automatically inserted at the end of the email.
- You can turn off Inc Signature if:
- The template already contains a pre-set signature.
- A different signature is needed for the specific context.
- The email doesn’t need a signature.

- You can turn off Inc Signature if:
- Click into the email body to compose your email. The subject and body of the email will populate based on the selected template, including any merge tags or smart tags. You can still make final adjustments to the email content before sending.
- To add attachments, click Select Files. You can also drag and drop the files into the “Attachments” section.
- If the email template includes attachments, they will automatically be listed.

- At the top of the “Construct Email” page, click Send Email.
- If you change your mind and don’t want to send the email, click Cancel Send.
- If you want to delete the email, click Delete.
Step 3: Add Email Recipients

- A window will open with a list of candidate contacts. To add a candidate contact to the list of recipients, on the left of the candidate contact’s name, click on the box.
- After selecting the recipients, click Continueto initiate the send process.
Track Sent Emails
The FZM system allows you to track all emails sent as well as other activities related to that particular record. To view the history of sent emails: 
- At the top right of the candidate profile page, click History.

- A window of a log of outgoing emails and other communications to the candidate will appear. This allows you to keep a record of all communications sent via FZM.
Conclusion
Email templates in FZM makes it easy to send consistent and professional emails quickly. By using these templates, you can save time, maintain a consistent message, and keep all your communication in one place. These tools help you work more efficiently, build better connections with candidates and contacts, and make managing your emails a lot simpler.
